 how-to
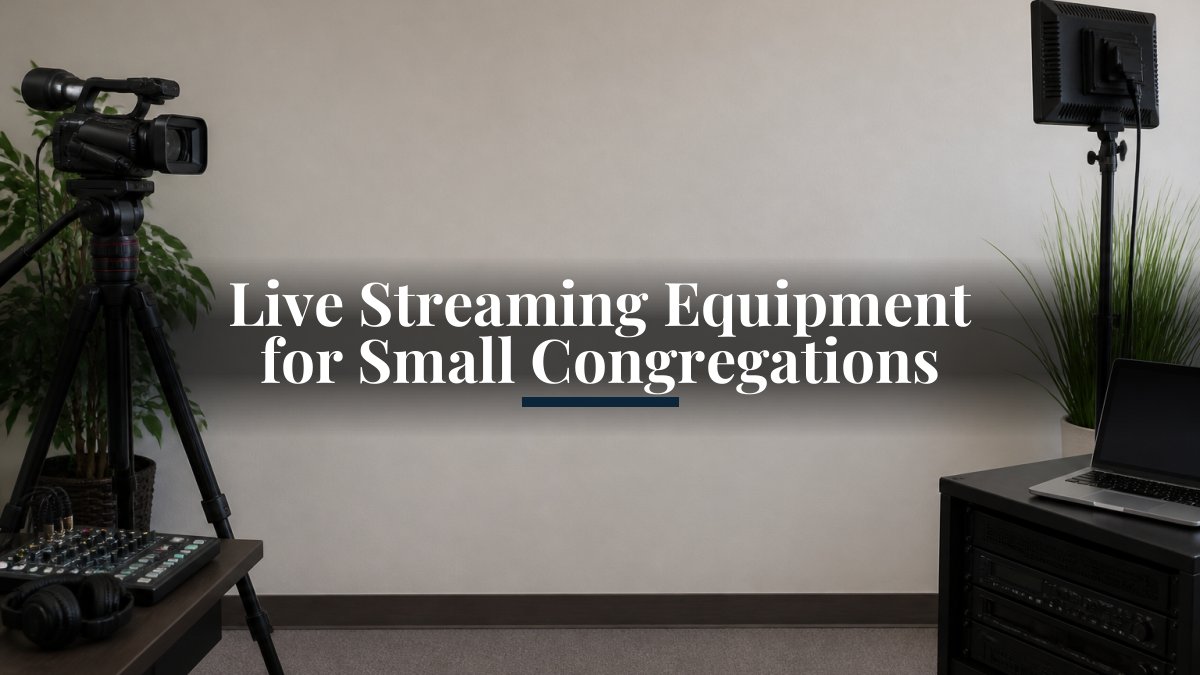
Live Streaming Equipment for Small Congregations
Table of Contents
- What You Need to Start Live Streaming Church Services
- Church Live Streaming Equipment Essentials
- Small Church Streaming Setup: Single-Camera vs. Multi-Camera
- Church Streaming Camera Selection and Placement
- One-Camera Church Streaming Kit: Complete Setup Guide
- Internet, Software, and Platform Choices
- Budget Tiers and Real-World Starter Setups
- Common Mistakes and Troubleshooting
- Frequently Asked Questions
Last Updated: October 14, 2026
What You Need to Start Live Streaming Church Services
The core challenge is connecting the right pieces without overspending. Most churches either buy too much gear or skip essentials and end up with poor audio or video.
What you need depends on your budget, sanctuary size, and volunteer count. A single-camera setup works fine for most small congregations; multi-camera productions look more polished but need more equipment and an operator.
This guide covers essential equipment, real-world starter setups at different price points, and how to connect everything reliably.
Church Live Streaming Equipment Essentials
Your live streaming setup has five core components: a camera, audio capture, a video capture device (if needed), a computer or encoder, and streaming software, each serving a specific purpose.
Camera Options for Small Congregations
The camera is your most important investment. You have three main choices: a traditional HDMI camera, a PTZ (pan-tilt-zoom) camera, or a smartphone in a pinch.
HDMI cameras are affordable and reliable, connecting directly to your capture device with a single cable.
PTZ cameras let you zoom, pan, and tilt from a control panel or computer, so you can follow the pastor across the stage or zoom in on the choir.
For 4K video quality, expect to pay more. Most small congregations find 1080p (Full HD) perfectly adequate, sharp and reliable without massive internet bandwidth.
Audio Capture and Mixing
Poor audio kills a live stream faster than poor video. People tolerate grainy video; they won't tolerate distorted sound.
Your audio mixer is the hub where all sound sources connect.
A basic 8-12 channel mixer works for most small churches, one input per sound source (pastor's mic, choir mic, instrument line-in, maybe a wireless mic for announcements), each with individual volume control.
Microphone type matters. Wired lavalier mics stay in place and pick up consistent sound. Wireless mics give freedom of movement but need batteries and frequency coordination.
Video Capture and Encoding
If your camera uses HDMI output, you need a video capture device to convert that signal for your computer. An HDMI capture card plugs in and records the camera feed in real time.
Some cameras output video directly to USB or ethernet, skipping the capture card entirely.
An encoder is a specialized device that compresses video and audio for streaming. Not all setups need one, if your computer is powerful enough, encoding software handles it. Small churches usually skip the dedicated encoder and use software instead.
Small Church Streaming Setup: Single-Camera vs. Multi-Camera
For live streaming equipment small congregations use, a single-camera setup is simpler and cheaper. One camera on a tripod captures the entire service.
A multi-camera setup gives you visual variety, one camera on the pastor, another on the choir, a third on the congregation or band.
For a congregation under 100 people, a single-camera setup usually makes sense, reliable video without complexity.
The single-camera approach also works better with volunteers: one person can monitor audio levels and watch the stream, while camera switching adds another task and more training.
Church Streaming Camera Selection and Placement
Your camera choice depends on sanctuary layout and budget. A fixed HDMI camera is most affordable; a PTZ camera costs more but gives you flexibility during the service.
Camera Types and Specifications
An HDMI camera outputs video through a standard HDMI cable. Setup is straightforward: plug the cable into your capture device and the video appears on your computer, with no special software.
A PTZ camera (pan-tilt-zoom) has motors that move the lens, controlled from a keypad or software. You can zoom in on the pastor, pan across the choir, or adjust framing without touching the camera.
Tripods, Mounts, and Positioning
Your camera needs a stable mount. A tripod is the simplest option: portable, adjustable, and works in any sanctuary.
Position your camera at eye level or slightly above. This feels more natural to viewers than looking up at the pastor or down at the pulpit.
Cable management matters. Run HDMI cables along the walls or under carpet, not across the floor where people trip.
For a fixed camera, aim it slightly wide so you capture the entire stage. You want to see the pastor, any musicians, and the congregation.
One-Camera Church Streaming Kit: Complete Setup Guide
A single-camera setup is the fastest way to start streaming. You need a camera, audio mixer, capture device, computer, and streaming software. Everything connects with cables.
What's Included in a Starter Kit
A basic church streaming kit includes:
- One HDMI camera (fixed or PTZ depending on budget)
- One audio mixer with at least 8 channels
- One HDMI capture card (if your camera uses HDMI)
- One computer (laptop or desktop with USB 3.0)
- One tripod or wall mount
- Streaming software (often free)
- HDMI cables, audio cables, and USB cables
- Microphones and microphone stands
Some vendors sell pre-packaged kits that include most of these items. The advantage is that all components are tested together. The disadvantage is you might pay for features you don't need.
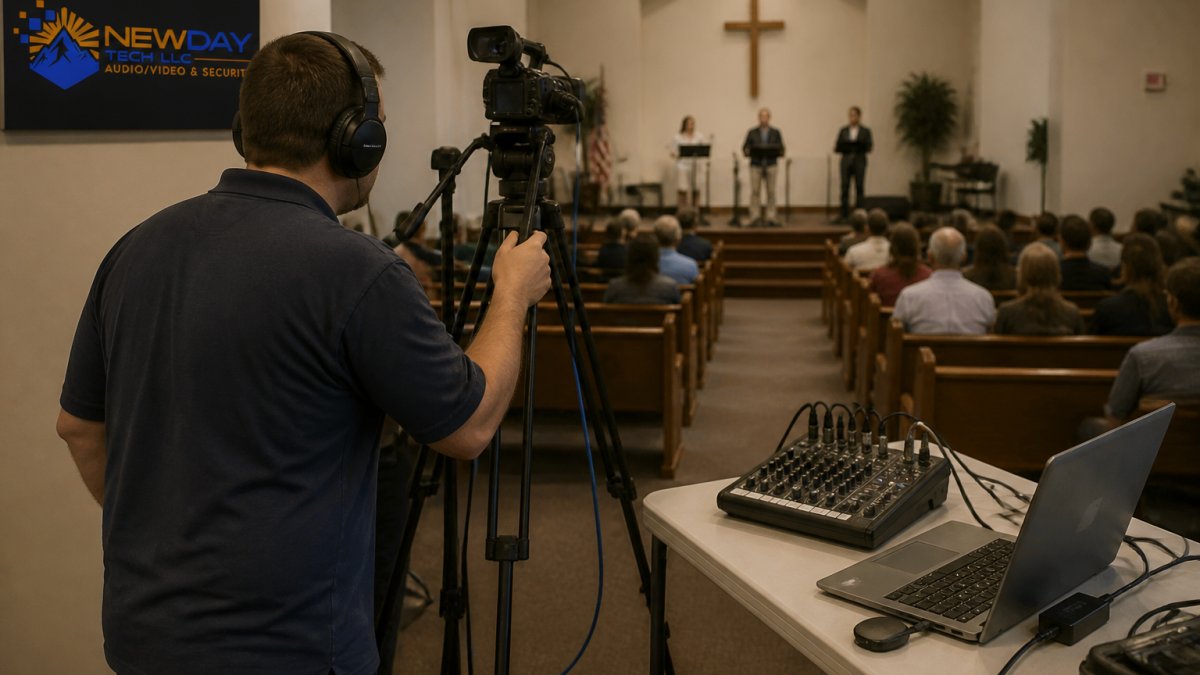
Connecting Your Components
Start with your audio mixer. Plug all microphones into the mixer's input channels.
Next, connect your camera to your capture device with an HDMI cable. Plug the capture device into your computer's USB port.
Finally, connect your internet. Ethernet is more reliable than Wi-Fi for streaming. If you must use Wi-Fi, position your router near your streaming computer or use a Wi-Fi extender.
Test everything before your first live service. Start the stream on a test account. Watch for audio sync issues, video dropouts, or lag. Fix problems now, not during Sunday service.
Internet, Software, and Platform Choices
Your internet connection is the backbone of your stream. If it fails, your stream stops. If it's too slow, video stutters or quality drops.
Upload Speed and Bandwidth Requirements
Upload speed is what matters for streaming, not download speed. Most internet plans emphasize download speed because people watch videos, not broadcast them.
For 1080p video at 30 frames per second, you need at least 5 Mbps upload speed. For better quality or higher frame rates, aim for 10 Mbps.
Bandwidth also depends on how many people watch simultaneously. Each viewer uses a tiny amount of bandwidth on your upload connection.
A backup internet connection is smart insurance. If your main internet drops, you can switch to a mobile hotspot from a phone.
Streaming Software and Platforms
Streaming software runs on your computer and sends video to a platform like YouTube, Facebook, or a custom platform. Popular free options include OBS Studio and Streamlabs OBS.
YouTube is the most popular platform for church streams. It's free, people already have YouTube accounts, and the playback quality is excellent.
Facebook is another option. Many older church members use Facebook, so they might prefer watching there. You can stream simultaneously to both YouTube and Facebook if you want.
Vimeo is a paid option that gives you more control over your stream and viewer experience.
Budget Tiers and Real-World Starter Setups
Your total cost depends on what you already have and how much quality you want. Here's what realistic setups look like at different price points.
| Setup Level | Camera | Audio Mixer | Capture Device | Computer | Tripod | Total Investment |
|---|---|---|---|---|---|---|
| Entry-Level | Fixed HDMI | 8-channel | HDMI capture card | Existing laptop | Basic tripod | Lower cost |
| Mid-Range | PTZ or 4K HDMI | 12-channel with effects | USB 3.0 capture | Dedicated streaming PC | Professional tripod | Moderate cost |
| Reused Equipment | Existing camera | Existing mixer | Existing capture method | Existing computer | Existing stand | Minimal cost |
Entry-Level Setup
An entry-level setup uses equipment you can find affordably. A fixed HDMI camera gives you reliable video without the complexity of PTZ controls. An 8-channel audio mixer handles most small church sound needs.
This setup costs less than a mid-range option, but it requires someone to physically move the camera if you want different angles. The video quality is perfectly adequate for streaming. Most viewers won't notice the difference between this and expensive setups.
Start with this tier if you're uncertain about long-term commitment. If streaming becomes part of your regular ministry, upgrade later.
Mid-Range Setup
A mid-range setup adds flexibility and quality. A PTZ camera lets you zoom and pan during the service. A 12-channel mixer gives you room to grow if you add more microphones later.
This setup is more expensive upfront, but it creates a more polished broadcast. Dynamic camera movements make the stream more engaging. Better audio equipment captures clearer sound from instruments and singers.
Invest here if your congregation is growing or if streaming is central to your ministry strategy.
Reusing Existing Church Equipment
Many churches already have audio equipment, cameras, or computers that can work for streaming. Your existing sound system might have outputs you can tap into. An old camera might work fine as a streaming camera.
Before buying new equipment, audit what you have. Can your existing mixer feed audio to a computer? Does your church have a camera that outputs HDMI? Can you repurpose an old laptop for streaming?
Reusing equipment cuts costs dramatically. You might spend only a few hundred dollars on a capture card and cables instead of thousands on a complete new system.
Common Mistakes and Troubleshooting
Most streaming problems fall into two categories: audio issues and video quality issues. Learning to fix these quickly keeps your stream reliable.
Audio Problems and Quick Fixes
No sound in the stream is the most common problem. Check that your mixer's master output is connected to your computer's audio input.
Distorted or clipped audio usually means levels are too high. Turn down the individual channel levels on your mixer, not just the master volume.
Audio delay (sound out of sync with video) happens when audio takes a different path than video.
Feedback or howling means a microphone is picking up audio from a speaker. Move the microphone away from speakers or turn down the speaker volume. Use directional microphones instead of omnidirectional ones.
Video Quality and Lag Issues
Pixelated or blurry video usually means your internet upload speed is too slow. Lower your video resolution from 1080p to 720p.
Stuttering or freezing video suggests your computer can't keep up with encoding. Close other programs running on your streaming computer. Reduce video resolution or frame rate.
Lag (delay between live event and what viewers see) is normal. Most streams have 5-15 seconds of delay. This is unavoidable with current streaming technology.
Live streaming your church service doesn't require broadcast-quality equipment or a large budget.
Frequently Asked Questions
What is the cheapest way to live stream a church service?
Start with a single HDMI camera, a basic audio mixer, and a capture device connected to a computer running free streaming software. Use existing church sound equipment if available, and stream to Facebook or YouTube. This setup requires one trained volunteer operator to manage camera positioning and audio levels during the service.
Can a small congregation live stream with one camera?
Yes. A one-camera church streaming kit captures the pastor or speaker and works well for smaller congregations. Position the camera at the back or side of the sanctuary to frame the pulpit and audience. One camera cannot show multiple angles or switch between speakers, but it's affordable, simple to operate, and requires only one volunteer. Many churches start this way and add cameras later if needed.
What kind of equipment do you need to live stream?
You need a camera (HDMI or PTZ), an audio mixer or microphone input, a video capture device or encoder, a computer with streaming software, a stable internet connection with adequate upload speed (5+ Mbps recommended), and a streaming platform account (Facebook, YouTube, or a dedicated service). Tripods, cables, and mounts complete the setup. Existing church sound and video systems can often be integrated to reduce costs.
How can a church improve livestream audio on a budget?
Connect your existing church microphones and sound system directly to a small audio mixer, then feed the mixer output to your capture device or computer. Use quality XLR cables and position microphones close to speakers to reduce feedback. Test audio levels before each service. If your church already has a mixing board, tap into its output instead of buying new gear. Many audio issues come from poor mic placement or incorrect level settings, not expensive equipment.