 how-to
How Do You Improve Starlink Signal on a Rural Property?
Last Updated: November 3, 2026
Quick Summary
A weak starlink signal on a rural property usually comes from one of three places: the dish, the router, or the device. Test each in order, then fix the cause. Clear the dish's view of the sky, move the router to a central spot, and add extenders or outdoor access points for distant rooms and outbuildings.
- Run a wired speed test first; a slow wired result points to the dish's view of the sky.
- Use the Starlink app to check obstruction alerts before moving the dish.
- Place the router centrally, off the floor, and away from thick walls and metal objects.
- Put an extender or mesh node halfway between the router and the dead zone.
- Use an outdoor access point or bridge for outbuildings, and keep the path clear of trees.
Table of Contents
- Start With a Diagnosis: Is the Problem the Dish, the Router, or the Device?
- Check Sky Visibility and Remove Obstructions Around the Dish
- Optimize Starlink Router Placement Inside the House
- Extend Starlink Wi-Fi to Distant Rooms With a Starlink Wi-Fi Extender or Mesh Nodes
- Reach Barns and Detached Buildings With an Outdoor Wi-Fi Access Point for Long Range
- Bridge Distant Buildings With a Point-to-Point Wireless Bridge for Detached Buildings
- Set Up Your Rural Starlink Network and Plan Your Next Step
- Frequently Asked Questions
A Starlink signal can work on a rural property even when trees and barns are in the picture, but a weak connection usually has a specific cause you can find and fix. The first step in fixing a weak connection is to work out whether the problem sits at the dish, the router, or the device. A full installation walkthrough for rural ranches covers dish placement and Wi-Fi extension strategies. Once you know which one, the fix for a weak Starlink signal is usually simpler than it looks. This guide walks through that diagnosis, then covers sky visibility, router placement, and how to reach distant buildings.
Start With a Diagnosis: Is the Problem the Dish, the Router, or the Device?
Most people guess at the cause and start moving things around. A faster way is to test each part in order. Start with the device you are using, since a laptop or phone with an old Wi-Fi adapter can look like a network failure.
Run the same speed test in three places:
| Test Location | What It Tells You |
|---|---|
| Next to the router, wired by Ethernet | The baseline speed from the satellite link |
| Same spot, over Wi-Fi | Whether the router is limiting the connection |
| Where the weak signal happens, over Wi-Fi | Whether distance or walls are the problem |
If the wired test is slow, the problem is most likely the satellite connection, which means the dish's view of the sky. If the wired test is fast but Wi-Fi is slow, the router or its placement is the cause. If Wi-Fi is fine near the router but drops in one room, the device or the room layout is the likely cause.
Watch out: Do not change three things at once. Test one variable, change one thing, then test again so you know what actually helped.
Check Sky Visibility and Remove Obstructions Around the Dish
The Starlink dish needs a clear view of the sky. Trees, barns, and other buildings can block it and cause dropouts and slow speeds. Walk the dish's position and look up from the mount. Anything that cuts across the sky above the dish is a potential problem, and foliage can matter more in summer when leaves are full.
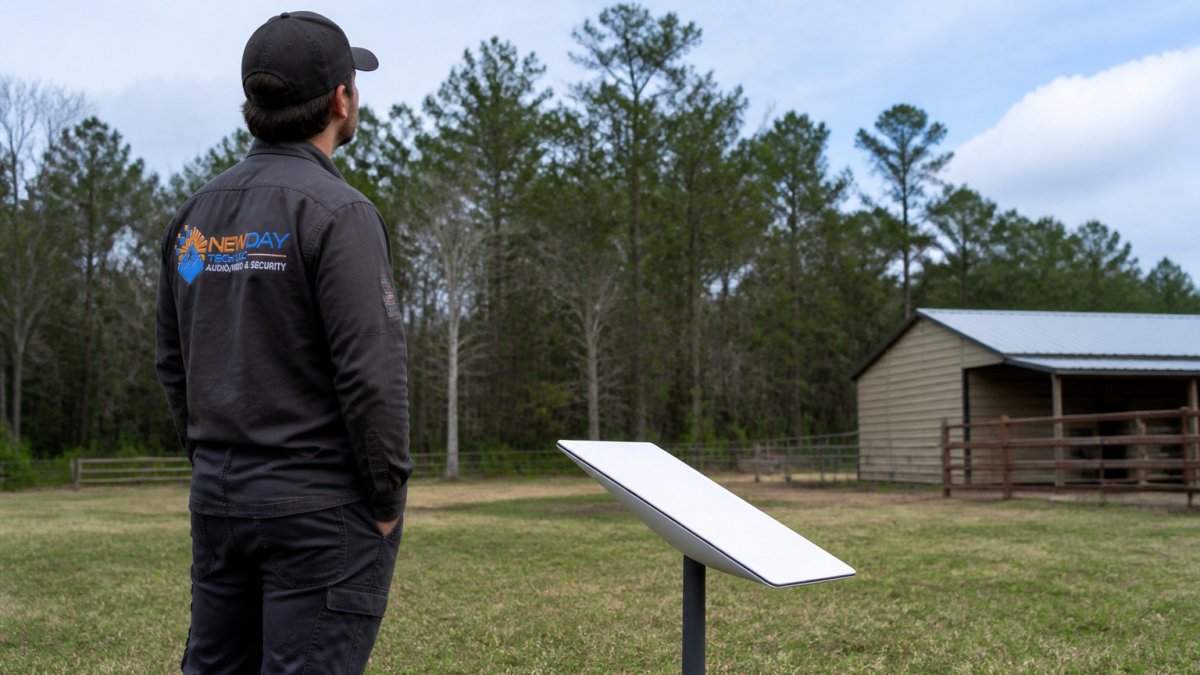
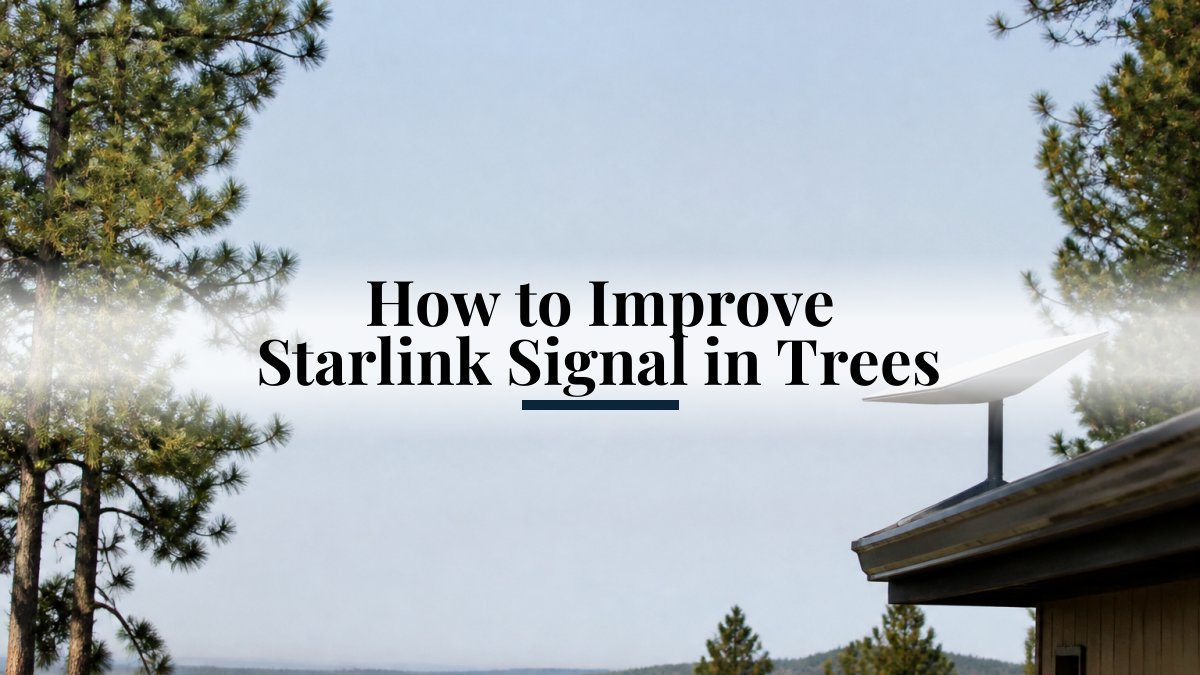
A dish placed in the shadow of a tree line or a tall barn roof may need to be moved to a more open spot. Our guide to improving Starlink signal under trees covers how to check obstructions, find a clearer dish spot, and raise the mount.
Using the Starlink App to Check Obstruction Alerts
The Starlink app can show obstruction information for your dish. Open the app while connected and review that information to decide whether the dish needs to move or a nearby tree needs trimming.
Elevating or Repositioning the Dish
Raising the dish can help clear low obstructions. A taller mount can clear low trees, fences, and outbuildings. Before you mount it higher, confirm that the new spot is secure against wind and that the cable run still reaches the router without strain.
Keep the dish away from anything that might block its view later, such as a tree you plan to plant or a structure you may build. Add notes about the mount location so you remember why you chose it.
Optimize Starlink Router Placement Inside the House
The router controls how far the Wi-Fi signal reaches inside your home. Put it in a central, open spot instead of a closet, cabinet, or corner. For more on eliminating Wi-Fi dead zones, see the step-by-step guide. Walls made of brick, stone, or metal weaken the signal, so keep the router away from them when you can. Raise it off the floor, since signals travel better from a high position.
Keep the router clear of microwaves, cordless phones, and large metal objects. These can interfere with the signal. If you can only place the router near an exterior wall, aim the antennas so the signal travels toward the rooms you use most.
Hiding the router behind a TV or inside a metal cabinet can block the signal.
Extend Starlink Wi-Fi to Distant Rooms With a Starlink Wi-Fi Extender or Mesh Nodes
If the signal is strong at the router but weak in far rooms, you need to extend coverage. A Starlink Wi-Fi extender repeats the signal to a wider area. A mesh system uses several nodes that work together so your devices move between them without dropping the connection.
- Extender: Typically a simpler setup, suited to one or two weak rooms.
- Mesh nodes: Often better suited to larger homes and spreading coverage evenly.
- Placement: Put each extender or node halfway between the router and the dead zone, not at the edge of the signal.
Test each spot before you mount anything permanently. Check the signal strength in the target room, then move the node if it is still weak.
Reach Barns and Detached Buildings With an Outdoor Wi-Fi Access Point for Long Range
Start by measuring the actual distance and checking the path. Walk from the house to the outbuilding and note what sits between them: a fence line, a row of trees, a shed, a metal roof.
Choose an access point rated for outdoor use with an IP65 or better enclosure rating, and confirm it supports the band you need. A 2.4 GHz outdoor unit will reach farther and penetrate obstacles better; a 5 GHz unit will deliver higher throughput at shorter range.
Mounting height matters more than most people expect. Put the access point high on an exterior wall or on a pole at roughly the same height as the receiving end, and aim it toward the building it serves.
Power and cable are the usual failure points. Plan for one of three approaches: a weatherproof outdoor outlet near the mount, Power over Ethernet (PoE) from a PoE injector or PoE switch inside the house, or a protected cable run in conduit.
Protect every connection. Use outdoor-rated Cat6 or Cat6a cable with UV-resistant jacket, seal connectors with self-amalgamating tape or weatherproof enclosures, and leave a drip loop where the cable enters the building so water runs off instead of into the connector.
Watch out: Mounting an outdoor access point on a metal pole without grounding it, or running cable through a metal building wall without a proper feed-through, invites water intrusion and lightning damage, ground the mount and use a sealed entry fitting.
After installation, test at the outbuilding with the same speed test you used indoors. Expect the outdoor link to deliver a fraction of the router's speed, often 30 to 60 percent at 150 feet through one wall, and plan your expectations around that rather than around the number you see next to the router.
Bridge Distant Buildings With a Point-to-Point Wireless Bridge for Detached Buildings
Typical rural uses are house-to-barn, house-to-shop, house-to-guesthouse, and house-to-gate or well house. A bridge uses two directional antennas aimed at each other to create a focused link that behaves more like a cable than like Wi-Fi.
Line of sight is the first requirement, and it is stricter than most people assume. The two antennas need an unobstructed path, and they also need clearance around that path, the Fresnel zone, an elliptical area around the straight line between the antennas that must be mostly free of trees, roofs, and terrain.
Choose equipment by band and by distance. A 5 GHz bridge delivers higher throughput over shorter ranges and is the common choice for links under about a mile with clear line of sight. A 2.4 GHz bridge reaches farther and tolerates more foliage but delivers lower throughput.
Use a sturdy mast or eave mount, secure it to structural framing rather than fascia, and keep both ends at similar heights so the path stays clear. Aim each antenna using the manufacturer's alignment tool or the signal-strength readout in the bridge's management interface, then tighten the mount and re-check, the act of tightening often moves the antenna slightly off aim.
Record the link's performance once it is up. Note the signal strength, the noise floor, and the throughput you measure with a speed test from a device wired to the far end. If the numbers are poor, re-aim before you replace hardware.
Watch out: Do not mount a bridge antenna on a mast that also carries the Starlink dish without checking for interference and without separate grounding, co-locating antennas can degrade both links, and an ungrounded mast is a lightning risk.
Set Up Your Rural Starlink Network and Plan Your Next Step
A reliable connection often combines several of these fixes: a clear dish view, a central router, mesh or extenders for distant rooms, and a bridge or outdoor access point for outbuildings. Test after each change so you know what is working. Keep a simple log of speed tests and locations, which makes it easier to spot trends and decide next steps.
Some properties need more than a DIY setup, especially when cable runs, outdoor power, and several buildings are involved. NewDay Tech designs and installs Starlink and whole-property Wi-Fi systems for homes, ranches, and businesses across North Texas, and offers ongoing support plans. Explore its business networking, security, and managed IT support services for your property. If you want a professional assessment of your property, request a consultation with NewDay Tech.
Frequently Asked Questions
How can I improve Starlink Wi-Fi coverage across a large property?
Start by confirming the dish has a clear view of the sky, then move the router to a central, elevated spot indoors. If parts of the property still drop off, add a mesh node or an outdoor access point at the edge of the coverage area. Run a speed test at each location, both near the router and in the far rooms or buildings, so you can see where the signal falls off. Most large-property problems come down to one of these three fixes rather than a single hardware change.
Will a Wi-Fi extender work with Starlink?
Yes. A Wi-Fi extender or mesh node can rebroadcast the Starlink router's signal to rooms the router does not reach well. The extender works best when placed about halfway between the router and the dead zone, with a strong signal at its own location. Extenders repeat the signal and do not add bandwidth, so the speed you get at the far end is always lower than what the router delivers nearby. A wired backhaul or a mesh system typically performs better than a single extender over long distances.
Is a mesh system or an outdoor access point better for a rural property?
It depends on where the coverage gap is. A mesh system suits a home or main house with a few dead zones inside walls and upstairs rooms. An outdoor wireless access point suits a barn, shop, or detached building that sits well away from the main house. Many rural properties use both: mesh inside the house and a point-to-point link or outdoor access point for outbuildings. Measure signal strength at the target location before you buy so you know which problem you are solving.
How do I get Starlink internet to a barn or detached building?
A wired or point-to-point connection from the main network is one common approach. Ethernet cable can be run in buried conduit, or a point-to-point wireless bridge can be used with a clear line of sight between the two buildings. Once the link is in place, the outbuilding can host a wireless access point to share the connection. Check that the path is free of trees and metal structures, since both can weaken the wireless link.