 how-to
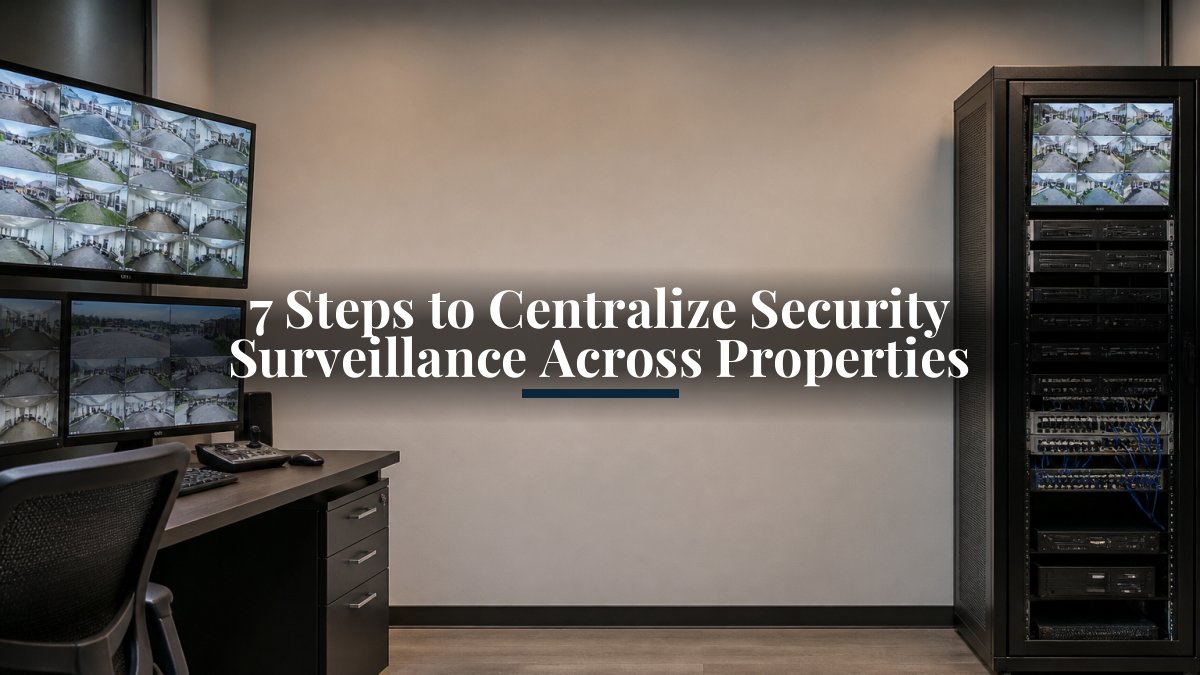
7 Steps to Centralize Security Surveillance Across Properties
Last Updated: October 29, 2026
Quick Summary
To centralize security surveillance across properties, audit every camera, access panel, and alarm into one portfolio workbook, then design a single architecture with shared video management, storage, and role-based user access before buying hardware. Roll out in phases, starting with your highest-risk core sites, and track response time, false alert rate, and footage retrieval time to prove ROI.
- Mark each device keep, replace, or retire, and add a migrate-when column to sequence the rollout.
- Phase 1 centralizes the two or three highest-risk properties first to test dashboard, retention, and alerts.
- Cancel redundant monitoring contracts only after the new system runs clean through one full billing cycle.
- Link door events to video so every badge swipe or forced door triggers a matching clip.
- Add hardware, installation, subscriptions, monitoring, and maintenance over five years to build total cost of ownership.
Table of Contents
- Why Property Managers Centralize Security Surveillance Across Portfolios
- Step 1: Audit Cameras, Access Control, and Legacy Systems Before You Centralize
- Step 2: Design a Centralized Security Camera System for Multiple Properties
- Step 3: Choose Cloud Video Surveillance for Property Managers
- Step 4: Plan Security Camera Access Control Integration for Entry Management
- Step 5: Build Centralized Monitoring, Alerts, and Incident Response Workflows
- Step 6: Apply Property Surveillance System Best Practices for Privacy and Cybersecurity
- Step 7: Measure Operational KPIs, ROI, and Total Cost of Ownership
- Frequently Asked Questions
Why Property Managers Centralize Security Surveillance Across Portfolios
Property managers who centralize security surveillance bring every camera, door reader, and alarm across their portfolio into one managed system with shared rules and one dashboard.
A property manager often inherits cameras from several vendors, a separate access system, and no shared record of what happened last month.
That fragmentation costs you. Staff juggle multiple apps. Footage retrieval takes hours.
Below, we walk through seven steps to fix that. The plan starts with an audit and ends with numbers you can take to ownership.
Step 1: Audit Cameras, Access Control, and Legacy Systems Before You Centralize
Start with a written inventory. You cannot centralize what you have not counted, and you cannot sequence a rollout you have not scoped. This audit is the foundation for the entire multi-property migration, so treat it as a project deliverable, not a clipboard exercise.
Walk each property and record four things for every device:
- Camera make, model, age, resolution, and lens type
- Whether it records locally, to the cloud, or both
- Access control panels, readers, door hardware, and credential type
Add three fields that most audits skip and later regret:
- Firmware version and whether the manufacturer still supports it
- Network path, which switch, VLAN, and internet circuit the device rides on
- Physical condition, housing cracks, water intrusion, aim drift, and cabling quality
End-of-life gear is your biggest integration risk. A camera that still produces an image can still be a liability if the vendor no longer ships firmware patches.
Turn the Audit into a Migration Map
Build one spreadsheet across the whole portfolio and mark each device as keep, replace, or retire. Then add a fourth column: migrate when. That column is what separates a real plan from a wish list.
A practical sequencing pattern most portfolios follow:
- Phase 1, Core sites. Centralize the two or three highest-risk properties first: the ones with the most incidents, the oldest gear, or the most tenant complaints. Test the dashboard, the retention policy, and the alert workflow on a small set before scaling.
- Phase 2, Easy wins. Add sites that already run supported, standards-based cameras. These migrate with configuration changes rather than truck rolls.
- Phase 3, Legacy replacement. Schedule analog and end-of-life sites for hardware refresh, spreading capital across budget cycles.
- Phase 4, Decommission. Remove duplicate recorders and cancel redundant monitoring contracts only after the new system has run clean through at least one full billing cycle.
Score Each Site Before You Commit
Give every property a simple readiness score so ownership can see why one site goes first and another waits:
- Internet upload bandwidth available for cloud streaming
- Percentage of cameras that are ONVIF-compliant
- Age of the oldest supported device
A site with strong bandwidth, mostly compliant cameras, and a recent incident history is a Phase 1 candidate. A site with aging analog gear and a single overloaded circuit is a Phase 3 project no matter how much the manager wants it done now.
The audit output should be a single portfolio workbook with a device register, a migration map, a site readiness score, and a phased budget. That workbook becomes the document you hand to ownership and the scope you hand to an integrator.
Step 2: Design a Centralized Security Camera System for Multiple Properties
A centralized security camera system for multiple properties is a single architecture that connects every site to shared video management, storage, and user access.
Work from coverage, not from product catalogs. Map each site and mark the zones that matter: entries, common areas, parking, perimeters, and utility rooms.
Then set your standards:
- Minimum resolution for each zone type
- Required retention period for footage
- Who can view which site
Standardizing now saves years of headaches. For the fuller planning process, see our guide to commercial security camera installation.
Camera Placement and Coverage Across Common Areas, Parking, and Perimeters
Place cameras where incidents actually happen. Lobbies, mailrooms, laundry rooms, stairwells, and shared hallways top the list for tenant safety and liability.
Parking areas need wide coverage with enough light for identification. Perimeters need overlapping views so no gap exists between cameras.
Placing cameras only at eye level on entry doors can leave blind spots along fences and loading areas, so higher mounts with angled views often cover more ground.
Interoperability and Legacy-Camera Integration
Most portfolios cannot rip out every old camera at once. The practical answer is a video management layer that speaks to multiple brands.
Check whether your existing cameras support open standards such as ONVIF. Many do, which means they can feed a modern recorder or cloud platform without replacement.
For older analog gear, encoders can bridge the gap. For a step-by-step walkthrough, see our guide on how to integrate different security brands.
Step 3: Choose Cloud Video Surveillance for Property Managers
Cloud video surveillance for property managers moves recording and management off local boxes and into a hosted platform.
Compare the two models honestly:
| Factor | Local recorder | Cloud platform |
|---|---|---|
| Remote viewing | Limited, needs VPN | Native app and browser |
| Maintenance | On-site visits | Vendor-managed |
| Storage growth | Buy more hardware | Scales with plan |
| Multi-site view | One box per site | Single dashboard |
| Upfront cost | Higher hardware spend | Spread over subscription |
Cloud is not automatically right for every site. Buildings with weak internet need a hybrid design that keeps local recording and syncs to the cloud.
Commercial surveillance system installation is one way to put these plans into practice, and hybrid setups can suit sites with limited bandwidth.
Step 4: Plan Security Camera Access Control Integration for Entry Management
Security camera access control integration links door events to video, so every badge swipe or forced door triggers a matching clip.
Set the rules up front:
- Which doors require video coverage
- How long entry events are retained
- Who reviews forced-door and held-door alerts
Mobile credentials are worth planning for now. Tenants and staff increasingly expect phone-based entry instead of cards.
Watch out: granting broad admin rights to every site manager defeats the purpose. Use role-based permissions so people see only what their job requires.
Step 5: Build Centralized Monitoring, Alerts, and Incident Response Workflows
Centralized monitoring means one team, or one platform, watches every site and routes alerts to the right person.
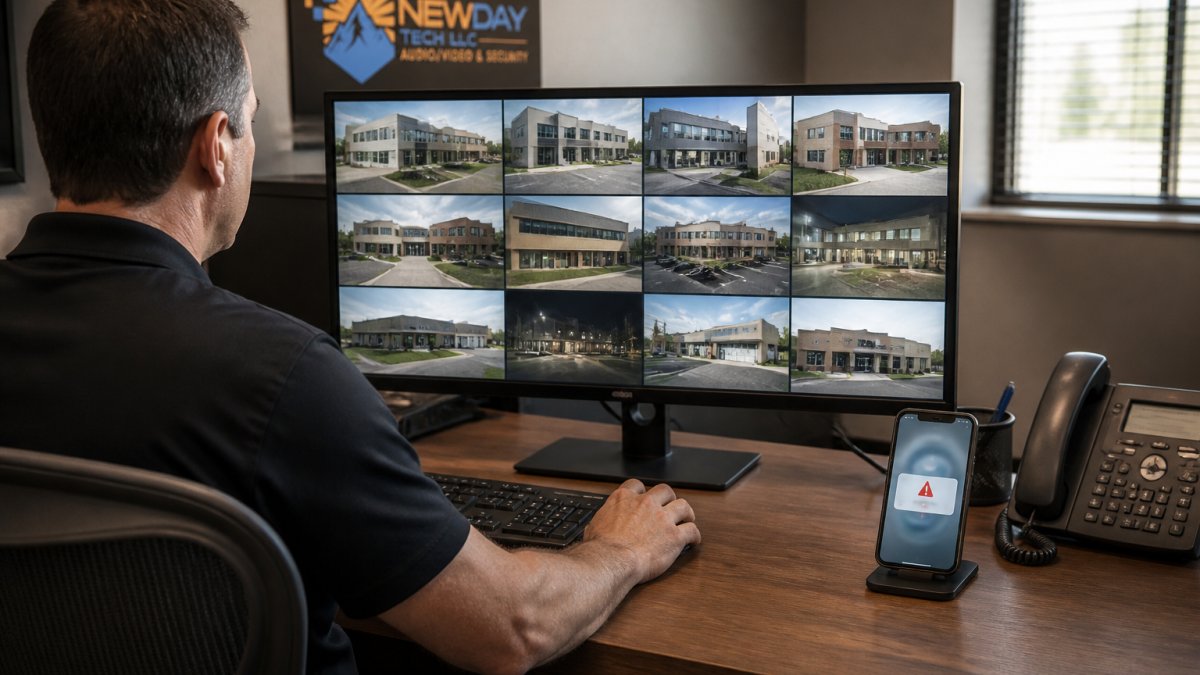
Define three tiers:
- Instant alerts for forced doors, motion after hours, and camera tampering
- Daily review for parking incidents and common-area activity
- Weekly audit of false alerts and system uptime
Write the response steps for each tier. Who calls police? Who contacts the tenant? Who pulls footage?
Video analytics help here. Modern platforms flag unusual activity instead of every moving leaf, which cuts false alerts sharply.
If you want professional monitoring behind the alerts, a monitoring provider can respond to real events rather than just motion.
Step 6: Apply Property Surveillance System Best Practices for Privacy and Cybersecurity
Property surveillance system best practices cover two fronts: respecting people and protecting the system itself. Centralization raises the stakes on both, because one misconfigured account or one over-broad camera view now affects every property in the portfolio instead of one building.
Privacy: Placement, Notice, and Retention
Write a surveillance policy before you write a camera schedule. The policy should answer five questions in plain language:
- Where can cameras point? Common areas, entries, parking, perimeters, and utility rooms. Not into private units, not through windows, and not at neighboring property.
- How is the public notified? Signage at each entrance and at parking entries stating that video recording is in use. Signage is the simplest, most consistent notice mechanism across a portfolio.
- How long is footage kept? Set one retention period per footage class and enforce it in the platform, not in a spreadsheet. A common pattern is a shorter window for general common-area video and a longer window for incident-tagged clips.
Audio is its own issue. Many states restrict recording audio without consent, and some prohibit it in spaces where people have a reasonable expectation of privacy. When in doubt, disable audio at the camera and document the decision.
Cybersecurity: Treat Every Camera as a Network Device
A centralized video platform is a portfolio-wide attack surface. Secure it like one:
- Change default passwords on day one and enforce a password standard across every site
- Put cameras and recorders on a separate network segment from tenant and business traffic
- Enable multi-factor authentication on every administrative account
The Cybersecurity and Infrastructure Security Agency publishes guidance on securing internet-connected devices that applies directly to camera systems and network video recorders.
Account Governance and Audit Logs
Account governance matters as much as technology. Build a joiner-mover-leaver process so access is granted when someone is hired, adjusted when they change roles, and removed the same day they leave.
Turn on audit logging and actually read it. The logs should show who viewed which camera, who exported footage, who changed a permission, and who added a device. A monthly review of administrative actions catches both mistakes and misuse.
Vendor Security Review
Before you sign with a cloud video provider or monitoring partner, ask for:
- Their current security certifications and the date of their last independent assessment
- How they handle subprocessors and where video is stored
- Their incident notification timeline and breach history
Put those answers in writing and revisit them at renewal. A vendor that cannot answer basic security questions is a portfolio-wide risk, not a bargain.
Step 7: Measure Operational KPIs, ROI, and Total Cost of Ownership
Measure what changed. Without numbers, centralization is a story, not a result.
Track these KPIs across the portfolio:
- Average response time to alerts
- False alert rate per site
- Footage retrieval time for incidents
Then build total cost of ownership. Add hardware, installation, subscriptions, monitoring, and maintenance over five years. Compare that against your current spend. Our integrated security system installation cost guide gives you concrete figures to build that budget.
Most managers find the savings come from three places: fewer site visits, less duplicated software, and faster incident resolution. For a sense of what to plan for, pricing depends on the number of sites, camera counts, and service plans; current pricing and a quote are available on the NewDay Tech website.
Frequently Asked Questions
How can property managers monitor security cameras across multiple properties?
Use a cloud-managed video platform that brings every site into a single dashboard. Cameras at each property connect through the local network or a cellular backup, and footage streams to one account with role-based permissions. From there you can view live feeds, pull recorded clips, and receive real-time alerts on a phone or laptop. The key is standardizing camera models and network settings per site so the central platform can read them without custom work at each building.
What should a centralized property surveillance system include?
At minimum it needs cameras with consistent placement standards, a cloud video platform with a single dashboard, remote access through a mobile app, access control integration for entry management, real-time alerts, and a retention policy. Add video analytics for incident detection, a visitor management log, and a documented incident response workflow. For multi-property operations, include a way to compare system uptime and response time across sites so you can spot a failing location before a tenant reports it.
How can property managers protect surveillance footage and tenant privacy?
Set a written surveillance policy that states where cameras point, what they record, how long footage is kept, and who can view it. Restrict access by role, require multi-factor authentication, and log every footage retrieval. Avoid cameras aimed into unit windows or private areas, and post notice in common areas. Follow applicable state and local recording laws, and train staff on evidence documentation so clips are handled consistently if an incident goes to insurance or law enforcement.
Can a cloud video surveillance system work with the cameras we already own?
Often yes, but it depends on the camera's firmware and whether it supports ONVIF or a standard streaming protocol. Older analog cameras may need an encoder or replacement. A practical approach is a site-by-site audit: keep compatible cameras, replace only the ones that cannot stream to the central platform, and standardize new purchases on one or two models. This migration planning keeps security costs predictable instead of forcing a full rip-and-replace on day one.
Centralizing surveillance across a portfolio is a project, not a purchase. The properties that get it right start with an audit, design around coverage, and measure results from day one. That is exactly the work NewDay Tech does: locally designed and installed systems, one team from planning through ongoing support, and clear separation of project and recurring costs. Get started with NewDay Tech and bring every property onto one dashboard you can actually trust.