 how-to
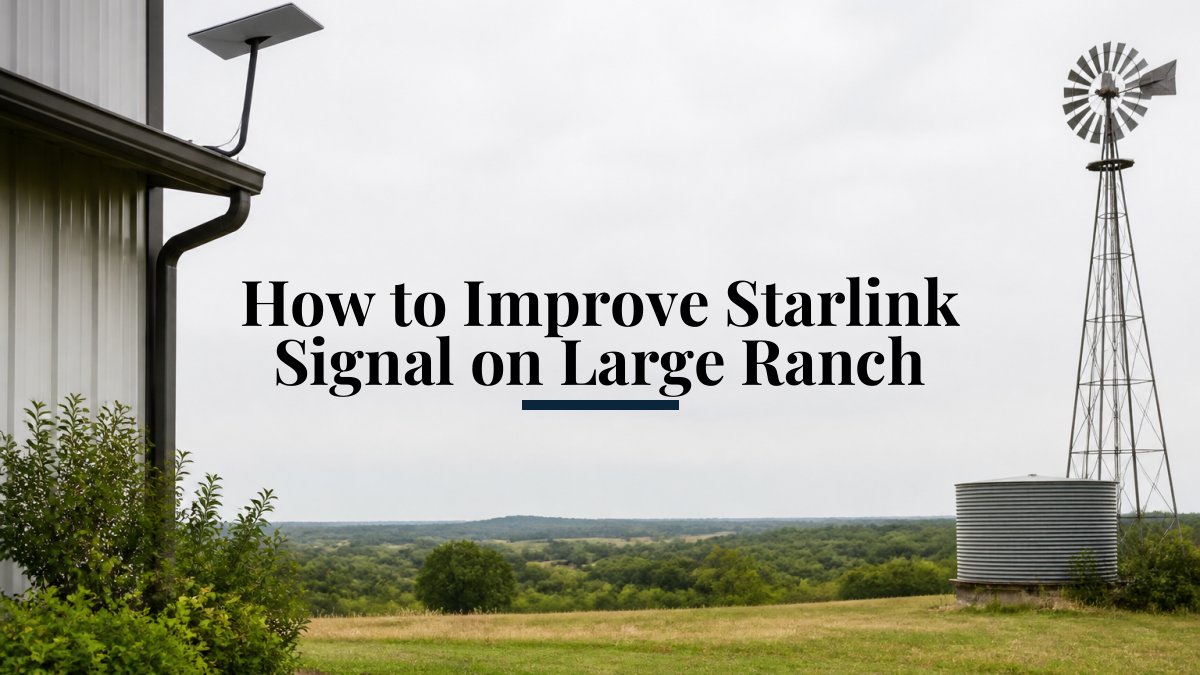
How to Improve Starlink Signal on Large Ranch
Last Updated: October 28, 2026
Quick Summary
To improve Starlink signal on a large ranch, find and fix obstructions first: run the Starlink app's obstruction checker at the final mount location, then raise the dish above rooflines and low branches with a wind-rated mounting bracket aimed at the northern sky. For dead zones in outbuildings, extend coverage with a point-to-point wireless bridge, mesh node, or outdoor access point rather than expecting the dish itself to reach.
- Run the obstruction checker at the final mount location, not from the ground, since a few feet of height often clears a treeline.
- Recheck obstructions after every season because trees grow and can cut into the dish's field of view.
- Every mesh hop halves usable throughput, so a node inside a metal barn will struggle.
- A point-to-point bridge uses two directional radios and carries full throughput from several hundred feet to several miles.
- Cat6 cable is rated for 328 feet per run, and fiber avoids signal attenuation on long ranch runs.
Table of Contents
- Starlink Obstructions and Signal Strength: Find and Fix the Real Problem
- Extend Starlink Wi-Fi to a Detached Building Without Digging
- Wireless Bridge for Barn Internet: Point-to-Point That Works
- Outdoor Wi-Fi Access Points for Large Properties: Coverage That Reaches
- Hardwiring with Ethernet Adapters and Fiber Optic Cable
- Powering Remote Outbuildings and Protecting Against Lightning
- Plan Your Ranch Starlink Installation with NewDay Tech
- Frequently Asked Questions
Starlink Obstructions and Signal Strength: Find and Fix the Real Problem
Most ranch owners assume a weak Starlink signal means the hardware is failing. It usually means something is blocking the sky.
A dead zone is any spot on your property where coverage drops below a usable level. On a ranch, dead zones rarely come from the dish itself.
Using the Starlink App to Map Obstructions
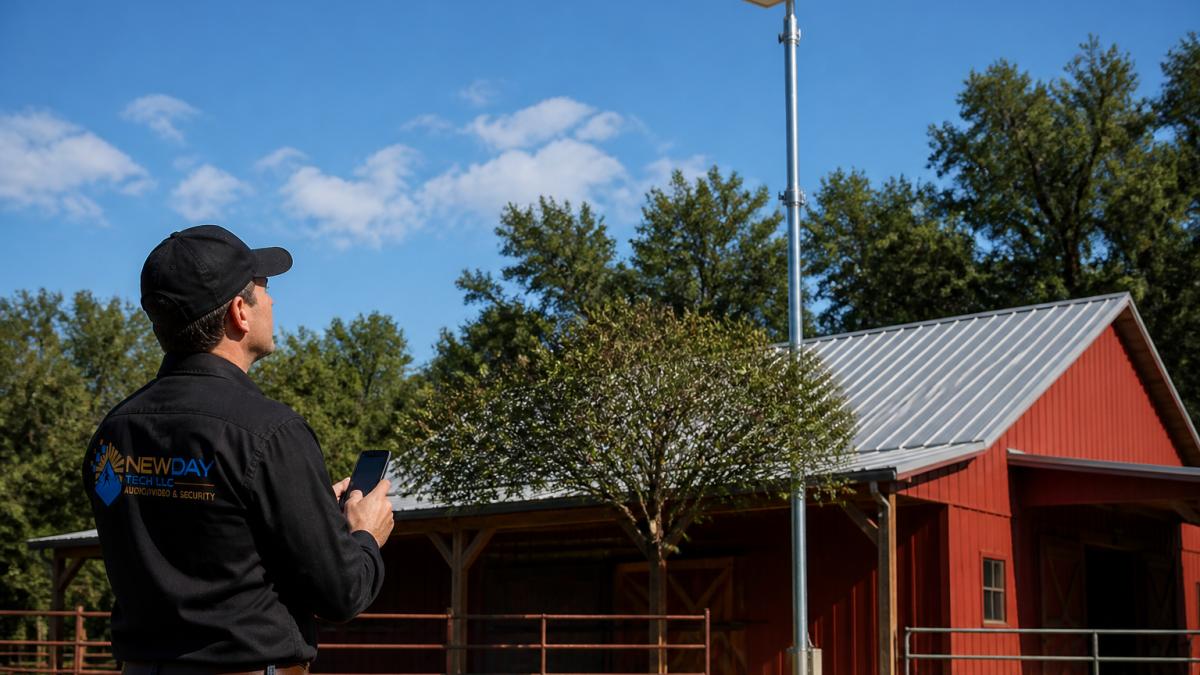
The Starlink app's obstruction checker is the fastest diagnostic tool you have. Stand where the dish is mounted, open the visibility tool, and let it scan the sky. The app draws a map of nearby obstructions and flags anything cutting into the dish's field of view. Run it at the final mount location, not from the ground. A few feet of height often clears a treeline that looked hopeless from below.
Mounting Dishes for Clear Line-of-Sight
Line-of-sight means nothing stands between the dish and the sky it needs. Getting that view usually comes down to height and placement:
- Move the dish above rooflines and low branches
- Use a mounting bracket rated for wind load on exposed poles
- Aim for the northern sky, where the constellation sits for most of the country
Watch out: mounting a dish on a short pole behind a barn wall is a common mistake. The dish needs open sky, not just open space.
For a deeper walkthrough of site prep and dish placement, see our Starlink installation guide for rural ranches.
Extend Starlink Wi-Fi to a Detached Building Without Digging
You can extend Starlink Wi-Fi to a detached building without digging by using a point-to-point (PtP) wireless bridge, a mesh system with a wireless backhaul, or an outdoor access point fed by a short cable run. The router that ships with Starlink covers a home, not a ranch. For the full walkthrough, see our guide to extending Wi-Fi signal across a large ranch.
Here is the honest trade-off between the three no-dig options:
- Mesh node with wireless backhaul, easiest to set up, but every hop halves the usable throughput, and a node inside a metal barn will struggle. Best for outbuildings within a few hundred feet of the house with a clear exterior wall.
- Point-to-point wireless bridge, two directional radios aimed at each other. This is the professional standard for ranch-scale distances (several hundred feet to several miles) and the option most guides skip. It carries full throughput across the link because the radios are dedicated to that one job.
- Outdoor access point on the building's exterior wall, good when the outbuilding is close and you mainly need Wi-Fi coverage around it, not a dedicated building-to-building link.
How a Point-to-Point Bridge Actually Works
A PtP bridge is a pair of radios: one mounted on the main house or shop facing the outbuilding, one mounted on the outbuilding facing back. Each radio has a narrow beam pattern, so the signal is concentrated in one direction instead of sprayed in all directions.
The setup steps that matter:
- Confirm line-of-sight between the two mounting points before you buy anything. A bridge needs a clear path, trees, silos, and rooflines in the beam will kill the link.
- Mount both radios at matching heights on sturdy brackets rated for wind load. A swaying mast throws off the aim.
- Aim each radio at the other using the built-in alignment tool or signal-strength meter in the radio's management interface. Small angle changes make large differences at distance.
- Lock the aim down and recheck after the first strong wind event.
- Put the indoor side on a switch so the outbuilding gets both Wi-Fi (via an access point) and wired ports for cameras or equipment.
Mesh vs. Bridge: Which to Choose
Use mesh when the outbuilding is close, the path is clear, and you can live with reduced speed at the far end. Use a PtP bridge when the distance is long, the outbuilding is metal, or you need full speed for cameras, equipment, or a second household.
For a deeper walkthrough of site prep and dish placement, see our Starlink installation guide for rural ranches.
Here is the honest trade-off between the three no-dig options for reaching an outbuilding.
| Option | Best for | Key difference |
|---|---|---|
| Mesh node with wireless backhaul | Outbuildings within a few hundred feet with a clear exterior wall | Easiest to set up, but every hop halves usable throughput |
| Point-to-point wireless bridge | Ranch-scale distances from several hundred feet to several miles | Two directional radios carry full throughput across the link |
| Outdoor access point on exterior wall | Close outbuilding where you mainly need Wi-Fi coverage around it | Provides coverage, not a dedicated building-to-building link |
Wireless Bridge for Barn Internet: Point-to-Point That Works
A wireless bridge is two directional radios that beam a connection from one building to another. It is the best answer for a barn or shop that sits too far for mesh and too hard to trench. Point-to-point links carry real throughput across long distances when aimed correctly.
Choosing Directional Antennas and Mounting Brackets
Match the antenna to the job:
- Directional antenna for a fixed link between two buildings
- Omni-directional only when you need coverage in every direction from one point
- Mounting brackets that hold the aim steady through wind and heat
A common mistake is buying the cheapest bridge and expecting home-grade speed. Check the rated bandwidth and latency before you commit.
Outdoor Wi-Fi Access Points for Large Properties: Coverage That Reaches
An access point rebroadcasts your network from a fixed spot, and outdoor-rated units are built for weather, dust, and heat. For large properties, outdoor access points are designed to push signal propagation across open ground.
Plan coverage around coverage radius, not wishful thinking. If you want to compare mesh and outdoor hardware for rural setups, our best mesh WiFi for rural properties guide breaks down the options.
Hardwiring with Ethernet Adapters and Fiber Optic Cable
The most reliable link between buildings is still a cable. A hardwired connection gives you the best throughput and network stability. On a large ranch, the cable run is an infrastructure project, not a patch cord, so plan it like one.
Two paths work well:
- Cat6 cable for shorter runs, using an ethernet adapter to reach buildings beyond the router's ports. Cat6 is rated for 328 feet (100 meters) per run; beyond that, you need an active component such as a switch or a fiber segment.
- Fiber optic cable for long runs, since fiber carries data over distance without signal attenuation. Fiber also sidesteps lightning risk on long copper runs, which matters on open ranch ground. Many modern switches include SFP ports for fiber transceivers, so the hardware is easier to source than it used to be.
Trenching and Conduit Requirements for Buried Cable
This is the part most guides skip, and it is where ranch installs succeed or fail. Bury cable in conduit, and bury it deep enough to survive equipment, frost, and future digging. Direct-burial cable exists, but conduit protects against rodent damage and makes future repairs possible without re-trenching.
Practical requirements to plan around:
- Call 811 before any trenching to mark existing utilities.
- Depth: bury conduit below the local frost line and below the reach of routine equipment. In most of the country, that means planning for at least 18 inches, and deeper where frost or heavy equipment traffic is a factor. Check your local code for the minimum.
- Conduit type: use Schedule 40 PVC for most ranch runs; Schedule 80 where the conduit is exposed or subject to damage. Use sweep elbows, not sharp 90s, so cable pulls don't bind.
When to Trench vs. When to Bridge
Trench when the run is permanent, the distance is long, or you need the highest reliability for cameras, equipment, or a second household. Bridge when trenching is impractical, across a paved drive, through rock, or to a building you may not keep.
For a deeper walkthrough of site prep and dish placement, see our Starlink installation guide for rural ranches.
Powering Remote Outbuildings and Protecting Against Lightning
Two problems sink remote buildings: no power and no protection. Solve both before you mount anything.
For power, options include a dedicated circuit from the main panel, a small solar setup with a battery, or Power over Ethernet from a switch that supports it.
Lightning protection and grounding are not optional on open ground. A tall antenna or dish is a target.
Plan Your Ranch Starlink Installation with NewDay Tech
Getting a ranch fully connected is a design problem, not a shopping problem. Dish placement, bridge aim, cable routes, power, and grounding all have to work together, and a mistake in one area shows up as a dead zone somewhere else.
At NewDay Tech, we handle the whole project: Starlink mounting, whole-property Wi-Fi design, and the network that ties your buildings together. If you want to know what to ask before hiring, read our guide on what to expect from professional Starlink installers. When you are ready to move forward, get the connection where your property needs it with a professional installation and whole-property network design.
Frequently Asked Questions
How can I extend Starlink Wi-Fi across a large ranch?
Use a combination of a wireless bridge for long distances and outdoor access points for local coverage. A point-to-point bridge sends the Starlink signal from the main house to a barn or shop, then an outdoor access point broadcasts Wi-Fi around that building. For runs over 100 meters, bury fiber optic cable in conduit for the most stable connection.
Does a Starlink mesh system work across a large property?
A Starlink mesh system works well inside a single building, but it struggles across large properties with multiple outbuildings. Mesh nodes rely on wireless backhaul, which weakens with distance and obstructions like barn walls. For reliable coverage across acres, use a wired or wireless bridge to connect buildings, then add outdoor Wi-Fi access points.
Should I use fiber or a wireless bridge to connect ranch buildings?
Choose fiber if you can trench between buildings and want the highest throughput and reliability. Fiber optic cable is immune to interference and supports long distances. A wireless bridge is faster to install and avoids trenching, making it ideal for temporary setups or areas where digging is impractical. The decision comes down to budget, distance, and soil conditions.
What is the best way to get internet across several acres?
Start by fixing obstructions at the Starlink dish to maximize signal strength. Then use a wireless bridge for barn internet to link distant buildings, and install outdoor Wi-Fi access points for large properties to cover yards and workshops. For permanent links, bury shielded Cat6 cable or fiber in conduit.
A ranch this size deserves a network that reaches every building, not just the house. NewDay Tech designs and installs Starlink and whole-property Wi-Fi across North Texas, with ongoing support plans that keep your system running long after the install. Get started with NewDay Tech and put reliable coverage in every corner of your property.